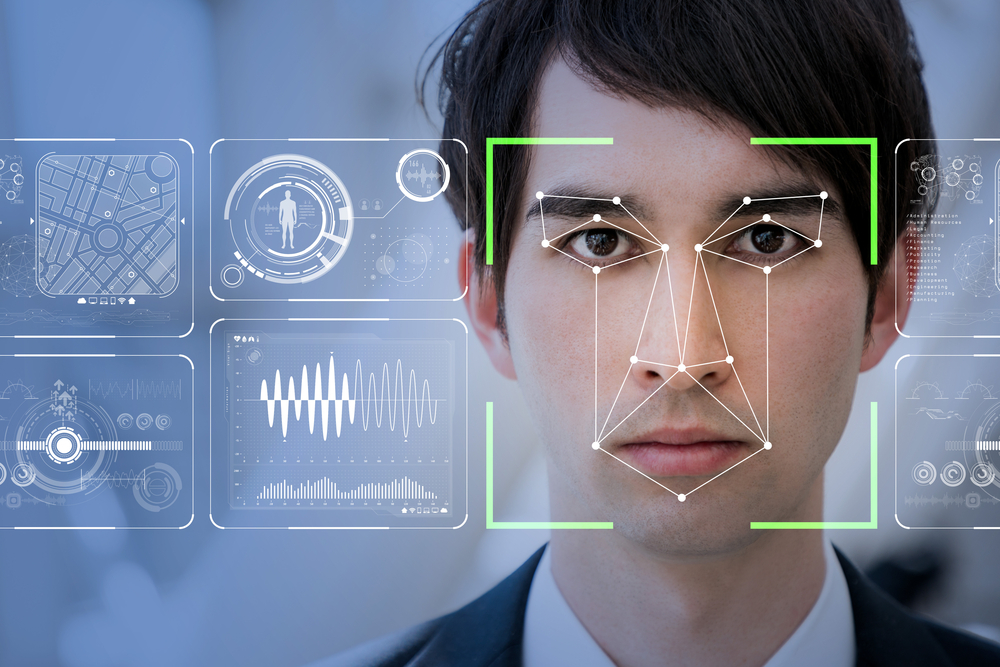
Facial recognition is part of the computer vision techniques, and when I am talking about computer vision, what does that stand for, and how is that related to our life?
Let’s a take real-time example,
Our generation is quite familiar with Social media platforms, and we all share our memories with our virtual friends.
But did you ever think when you upload some new photos in those social media sites, how they give you the suggestion to tag your friends automatically without any extra efforts?
Here comes the computer vision technology in the scenario.
What is Computer Vision?
Computer vision is a process to give the ability to the computer to see as a human. It is the part of computer science which is focused on replicating the intricate parts of the human visual system. It helps to identify and process the objects in images through the computer.
The whole idea for the computer vision is to make an automatic replica of the human eye, which is more efficient than human eyes. Learn how image recognition works. Work on Computer Vision Projects to improve your skillset.
Introduction to OpenCv:
There are some predefined packages and libraries are there to make our life simple.
One of the most important and popular libraries is Opencv. It helps us to develop a system which can process images and real-time video using computer vision. OpenCv focused on image processing, real-time video capturing to detect faces and objects.
Background of OpenCV:
OpenCV was invented by Intel in 1999 by Gary Bradsky. The first release was in the year 2000. OpenCV stands for Open Source Computer Vision Library. This Library is based on optimised C/C++ and it supports Java and Python along with C++ through interfaces.
OpenCV is one of the most popular and successful libraries for computer vision and it has an immense number of users because of its simplicity, processing time and high demand in computer vision applications. OpenCV-Python is like a python wrapper around the C++ implementation. OpenCv has more than 2500 implemented algorithms which are freely available for commercial purpose as well. Check out the free course on face recognition in opencv.
Applications of OpenCV:
- Medical image analysis: We all know image processing in the medical industry is very popular.
Let’s take an example:
Identify Brain tumour: Every single day almost thousands of patients are dealing with brain tumours. There are many software which are using OpenCv to detect the stage of the tumour using an image segmentation technique.
One of the applications is RSIP Vision which builds a probability map to localize the tumour and uses deformable models to obtain the tumour boundaries with zero level energy.
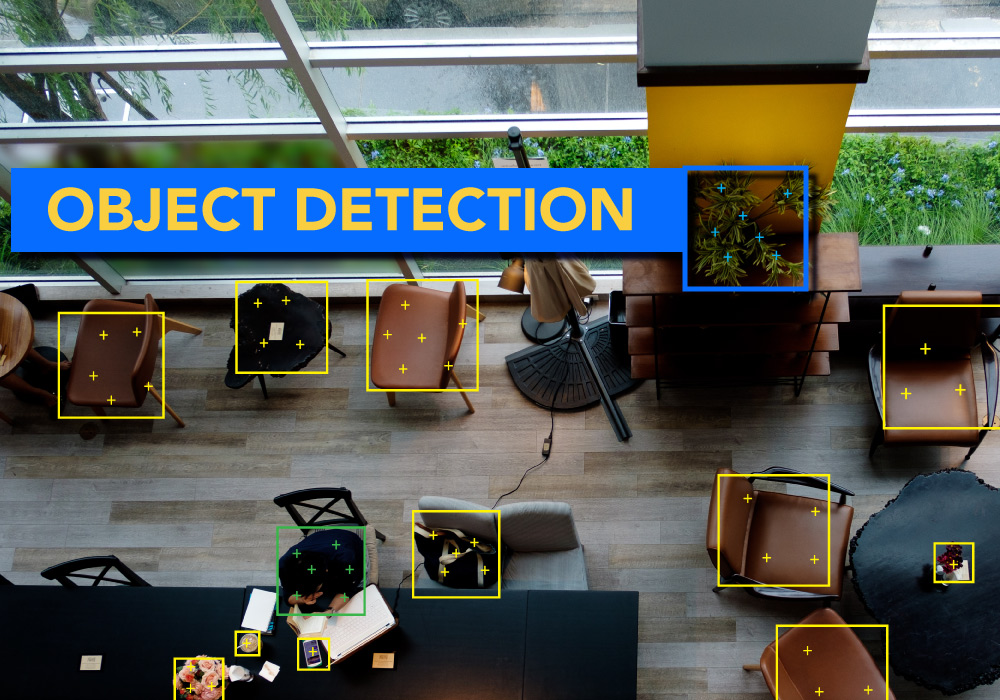
- Object Detection: Detecting objects from the images is one of the most popular applications.
Suppose,
You want to detect a person sitting on a two-wheeler vehicle without a helmet which is equivalent to a defensible crime.
So you can make a system which detects the person without a helmet and captures the vehicle number to add a penalty.
There are many applications there using OpenCv which are really helpful and efficient. These applications are also taking us towards a more advanced world with less human efforts.
Face detection using OpenCV:
- Install OpenCV:
OpenCV-Python supports
- Mac OS,
- Linux,
- Windows.
Detailed documentation For windows and for Mac
pip install opencv-python
Read the image using OpenCv:
Machine converts images into an array of pixels where the dimensions of the image depending on the resolution of the image. The computer reads any image as a range of values between 0 and 255. Colour images have 3 primary channels
- Red,
- green
- and blue
A matrix is built by the library for every primary colour. Then the combination of matrices provides a Pixel value for the individual R, G, B colours.
Two types of resolutions are there:
- RGB —> (Dimension ex: 32* 32 * 3 → 3 refers to the RGB value)
- Gray Scale
Let’s take an example of an image array with real-life image:
- Import cv2: Importing OpenCV
- Img : Store and read the image
- Print the array of the image
Output: Array of an image
The input image is read by using an imread module.
Now in this imread module it has a parameter if we write,
- img=cv2.imread(‘input image’,1) → this 1 stands for color image
- img=cv2.imread(‘input image’,0) → 0 stands for black and white image
3. Find out the shape of the Image:
- img=cv2.imread(‘input image’,1)
3 refers to the RGB colour. Our image is a coloured image
- img=cv2.imread(‘input image’,0)
- Display the Image:
Now we will just display our image using opencv functions
- Convert input image into grayscale image:
So in this step, we need to convert our input images into gray scale images.
But why do we need to convert the input image into grayscale?
The reason why we need to convert them is that colour increases the complexity of the model. The inherent complexity of gray scale images is lower than coloured images.
cv2.cvtColor() → method is used to convert an image from one color space to another. This method has more than 150 color-space conversion methods available.
COLOR_BGR2GRAY→ Stands for converting the image into gray scale.
- Resize the input image:
Now we will resize the input image using OpenCV library.
- By default in resizing, it only changes the width and height of the image.
Syntax to resize the image:
cv2.resize(src, dsize[, dst[, fx[, fy[, interpolation]]]])
Now you all have doubts, what are those parameters right?
- src → src stands for the source, it converts the original image into numpy array
- dsize→ dsize is basically the desired size of the output image. The nature of the size is tuple.
- fx → fx is used for the scaling factor along X-axis or Horizontal axis
- fy→ fy is also used to scale factor the Y-axis or Vertical axis
- interpolation → Interpolation is a method which decides the pixel value based on the neighbouring pixels and the scale at which the image is being resized
- INTER_NEAREST
- INTER_LINEAR
- INTER_AREA
- INTER_CUBIC
- INTER_LANCZOS4
- Use haarcascade_frontalface_default.xml file to detect face:
But I know you all have a question: what is this haarcascade_frontalface_default.xml file right?
Let me tell you,
Haar Cascade is basically a machine learning object detection algorithm which is used to identify objects in an image or video.
And also It is a machine learning based approach where a cascade function is trained on a lot of positive and negative images and then it is used to detect objects in other images.
Now haar cascade file in OpenCv is basically a classifier. This classifier is used to detect particular objects from the input image.
The haarcascade_frontalface_default.xml is a part of the haar cascade mainly designed by OpenCV to detect the frontal face.
We have three feature detection using Haar cascade
1. Edge features
2. Line features
3. Center surrounded features
cv2.CascadeClassifier→ This method will load the xml file from the library directly.
Detect the face from the image:
As we already preprocess our input image and convert them into grayscale now we can jump to find the face in the input image.
To find the face in the image face_cascade.detectMultiScale(gray, 1.1, 4) → this method will help
But you all are thinking about what are these parameters?
Let me explain you,
cv2.CascadeClassifier.detectMultiScale(image[, scaleFactor[, minNeighbors[, flags[, minSize[, maxSize]]]]])
- image : image stands for matrix of the type CV_8U which contains an image where objects are detected.
- scaleFactor : ScaleFactor helps to find out how much the image size is reduced at each image scale.
- minNeighbors : this parameter helps to detect how many neighbors each candidate rectangle should have to retain it. This parameter has a direct relation with the quality of the detected faces: higher value means less detection with higher quality.
- flags : Flags is used for the parameter with the same meaning for an old cascade as in the function cvHaarDetectObjects. It is not used for a new cascade.
- minSize : minSize stands for minimum possible object size. If Objects are smaller than that are ignored.
- maxSize :And this parameter is used to determine the Maximum possible object size. If Objects are larger than that are ignored.
We define the detectMultiScale function for our image.
- Draw the rectangle around the face:
Now define the method to create a rectangle using cv2.rectangle.
Pass the parameters such as the image object, RGB values of the box outline and the width of the rectangle through the methods.
Output:
As we break down our code into multiple part now let’s check out the full code once:
So we can see with the OpenCV library, we can easily detect the face from the images. You can check out the free opencv courses and get a detailed understanding of it.
Great Learning’s GL Academy has free courses to help you upskill. Here, you can learn to develop a python chatbot as well.
Happy Learning!


